
How to Pack a Hiking Daypack (Free Downloadable Checklist)
Practical gear tips for your next summer adventure!
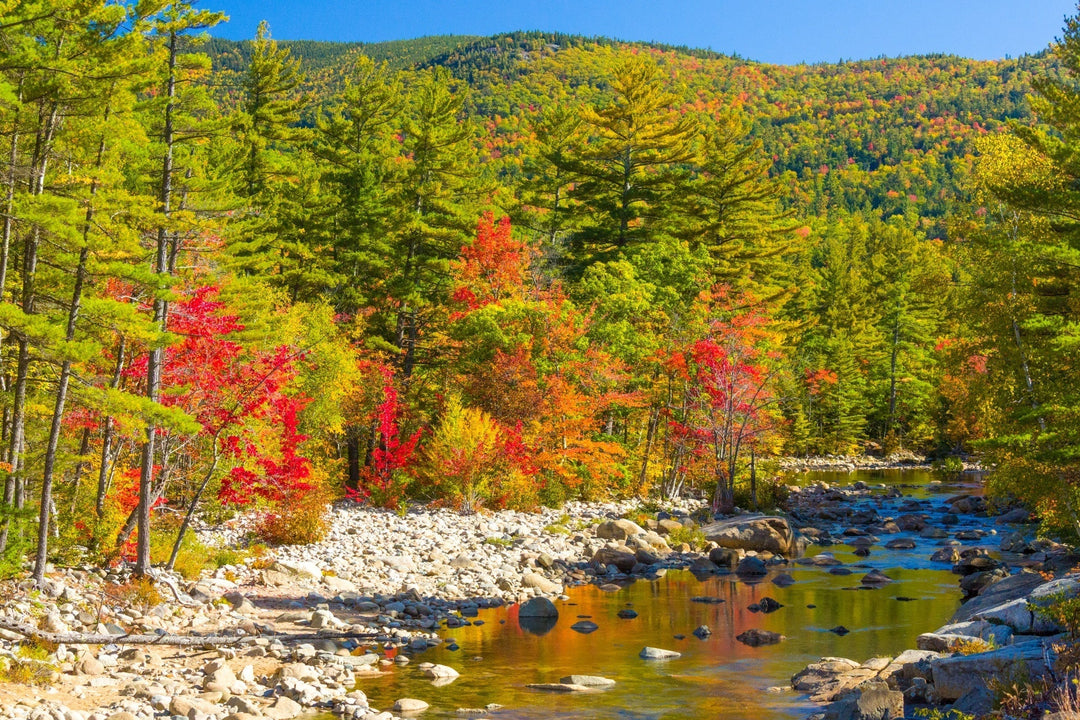
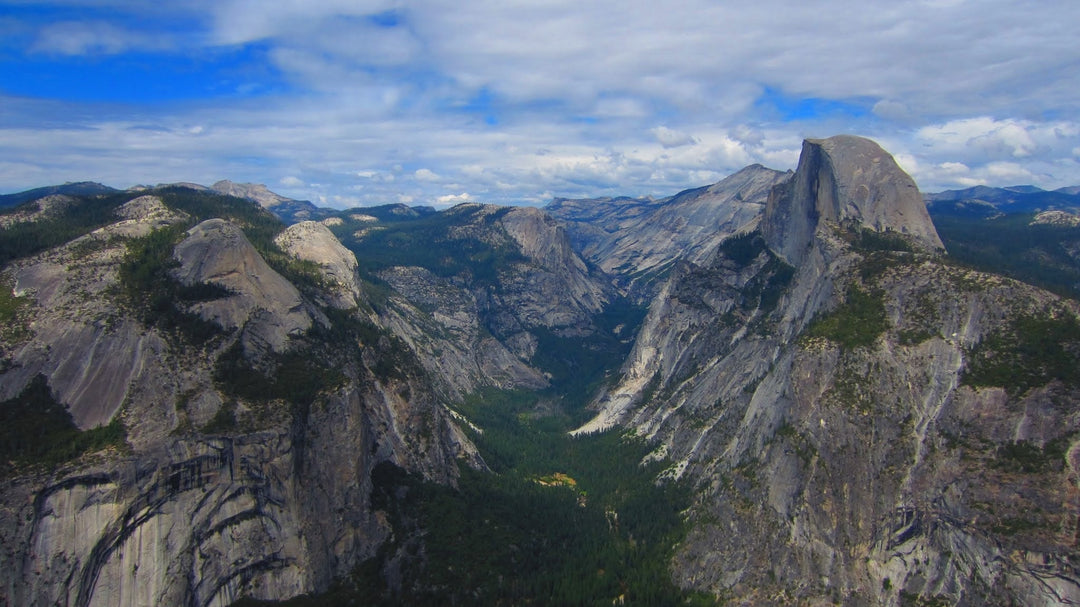
There’s nothing quite like a day spent exploring America’s National Parks—from alpine trails and canyon overlooks to wildflower meadows and shady forest paths. But an amazing hike can turn uncomfortable fast without the right gear in your pack.
First things first: what is a daypack? A daypack is a small to medium-sized backpack designed to carry everything you need for a hike that starts and ends on the same day—whether it’s a short stroll to a viewpoint or an all-day adventure through backcountry trails. For this guide, we are leaning our recommendations towards the shorter side of things - up to a few hours on the trail.
So without further ado... here’s your guide to packing a National Park daypack like a pro—so you can focus on the views, not what you forgot.
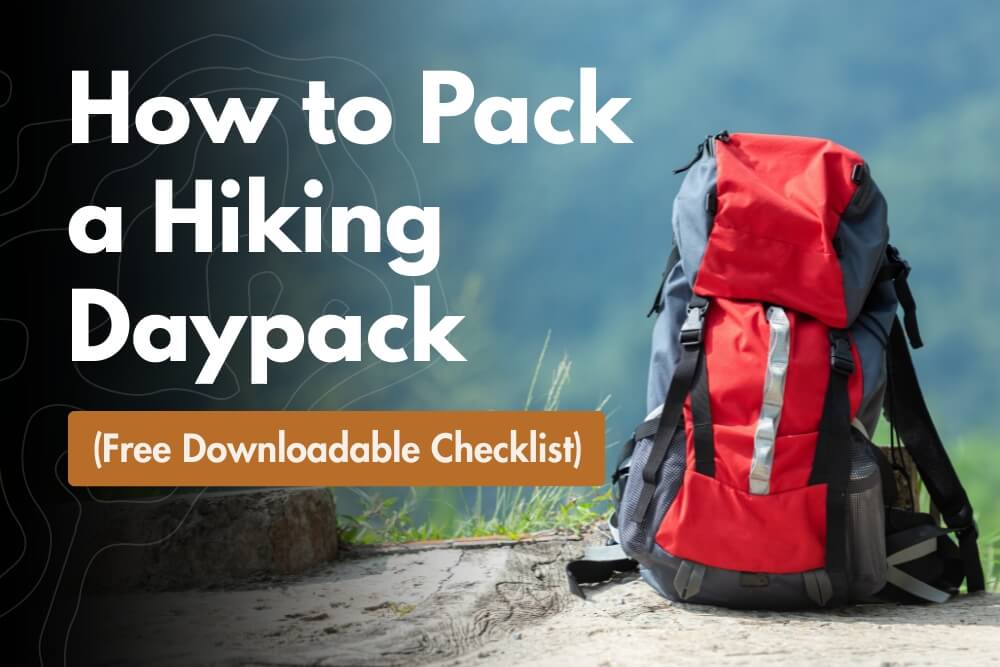
🧭 1. Start with the Right Pack
Your pack is your base—start smart.
For most day hikes, a 15–25 liter backpack is ideal. It should be:
- Lightweight but supportive
- Equipped with adjustable chest and waist straps
- Built with a breathable back panel
- Spacious enough for water, food, and essentials
Favorites we use and love:
- Osprey Daylite Pack: Compact, reliable, and has great structure for all-day comfort.
- REI Co-op Flash 18 Pack: Minimalist but functional—perfect for lighter outings.

💧 2. Stay Hydrated (Seriously)
Summer heat and high elevation can dehydrate you faster than you think. Always carry:
- 2–3 liters of water per person
- Electrolyte tablets or chews (we like SaltStick FastChews) to help replenish what you sweat out
While water filtration probably isn’t needed for shorter hikes, it’s a great backup if you’ll be near rivers, lakes, or springs—or if you tend to wander. Our go-to:
💧 Sawyer Squeeze Water Filtration System: Fast, reliable, and works better than the micro-squeeze options. Just make sure to research water sources before your hike if you’re planning to rely on it.

🥪 3. Trail Snacks That Hit the Spot
Calories are your friend on the trail. A well-fed hiker is a happy hiker. We recommend:
- Flavored cashews or nut mixes
- Granola bars and jerky
- Dried fruit and apple chips
- Nut butter packets
- 🍬 Candy! A handful of jellybeans or sour gummies can reset your mindset after a few hot, sweaty miles. Don’t underestimate the mental magic of sugar on the trail.
For longer day-hikes, pack a larger meal item like a sandwich or a wrap.

🧥 4. Dress in Layers & Prep for Weather
Always check the forecast for your trailhead and plan for the coldest weather you might encounter—not just what it looks like when you leave your house. Mountains create their own weather.
What to bring:
- Lightweight fleece or thermal layer
- Waterproof shell or windbreaker (not just a puffer—puffers aren’t waterproof!)
- For budget-friendly rain gear, we like Frogg Toggs which are both effective and packable
- Sunglasses and a Hat - Snag a new hat here!
- Buff or bandana (for sweat, dust, or a quick face rinse)
🧰 5. Pack a Trail Essentials Kit
Every hiker should carry a small, reliable kit with:
- Navigation tools: Map, compass, or GPS (don’t just rely on your phone)
- First aid: Blister pads, band-aids, antiseptic wipes, pain relief
- Lighting: Headlamp or flashlight with backup batteries
- Sunscreen (SPF 30+) + SPF lip balm
- Multi-tool or small knife
- ID, park pass, and any required permits
💡 Bonus tip: Keep it all organized in a zippered pouch so it’s easy to grab when needed.
🐻 6. Park-Specific Extras
Depending on where you're headed, consider these optional—but sometimes essential—items:
- Bear spray (mandatory in grizzly country like Glacier, Yellowstone, or Grand Teton)
- Bug spray or repellent wipes
- Mosquito net
- Lightweight trash bag (always pack out your waste—Leave No Trace!)
- Trekking poles (optional, but great for steep or uneven terrain)
🎒 How to Pack It All (The Smart Way)
A well-packed bag doesn’t just carry your gear—it makes your hike easier. Here's how to load it efficiently:
Bottom layer (least needed):
- Rain gear
- Extra clothing
- Water filter (if you're not using it regularly)
Middle layer (heaviest items close to your spine):
- Water reservoir or bottles
- Food/snack bag
- Essentials kit
Top layer (easy-access items):
- First aid
- Sunscreen, bug spray
- Trail map
- Candy, snacks for quick grabs
Outer pockets:
- Sunglasses
- Buff or hat
- Phone or GPS
- Trash bag or bear spray (easy grab if needed quickly)
Pro Tip: If your pack has a hip belt pocket, throw some jellybeans or a small granola bar in there. It’s amazing what a mid-hike sugar boost can do.
⛰️ Ready to Go?
Packing smart means you're ready for whatever the trail throws at you—comfortably, safely, and with fewer "I wish I brought..." moments. Whether you're hiking to a hidden waterfall or a famous summit, you're more prepared now than ever.
Download our free printable checklist to make your next hike even easier:
➜ National Park Daypack Checklist (PDF)
☀️ Don’t forget your hat! Whether you’re hiking in high-elevation sun or trekking through desert heat, a good hat can make all the difference. Check out our collection of National Park-inspired hats—perfect for staying cool and shaded on the trail.